Butchering the Hornby Pacer
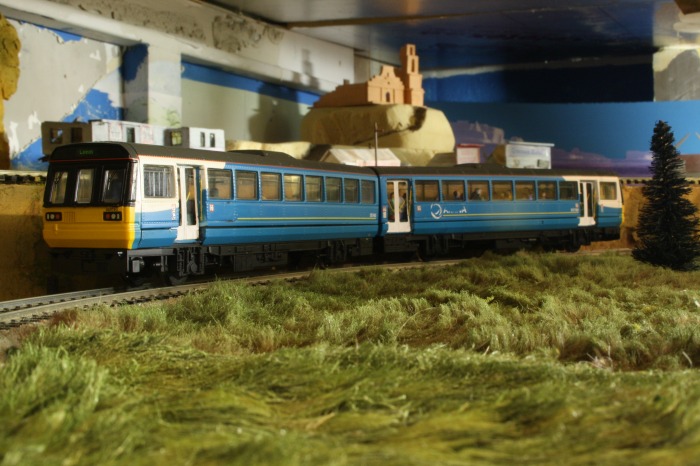
This page is dedicated to the modification of my Hornby pacer, 142090. It has been butchered several times, not only to get it open initially, due to Hornby gluing it shut???, but to modify the interior partitions and to remove the old style four leaf doors and replace them with the Hurst Models etched Brass doors.
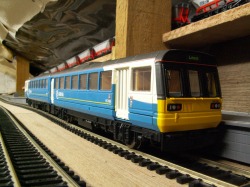
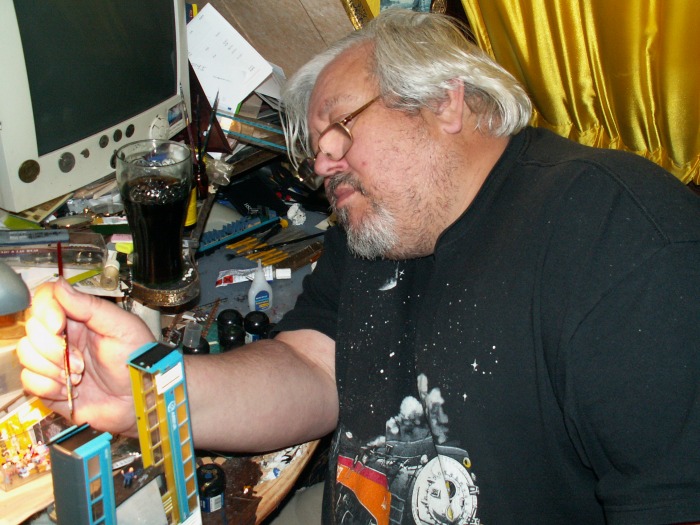
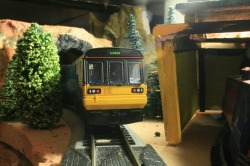
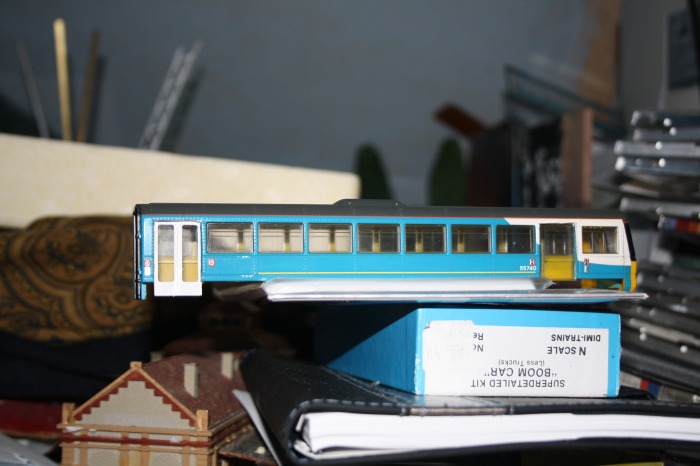
Here is the Hornby pacer, as it came out of the box, ready to run. My initial thoughts were that it is a good models, as I do like these little units, which are regulars one the services local to me. However, a few inital problems were found, the first and major one being that the doors are wrong on the unit, and that the floor inside is rediculously too high. Having made several enquiries at model shows, I was pointed in the right direction by Dave Skipsey, who runs the Wirral Finescale layout, as he had two Merseyrail pacers which had had the door conversions done on them. I was very impressed so I set about getting them straight away. Firstly I would like to thank my friend Peter MacFarlane, whose link is at the bottom of the page to his American N Scale Railroads, without his help and skill the Pacer would still be a basic model. After visiting my railway him and myself were lucky enough to get a ride to Middlesbrough on the real 142090, which gave him ideas for the colour of the interior, and other details such as the access ramp and escape ladder which would need to be included in the interior. He also spotted that we would need to include green handrails inside. So up I went to Peter's and we started work..............
Opening it up and sticking in the people
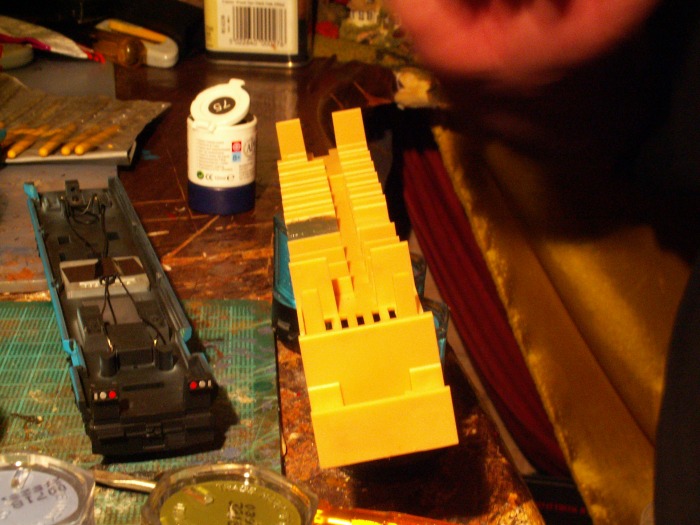
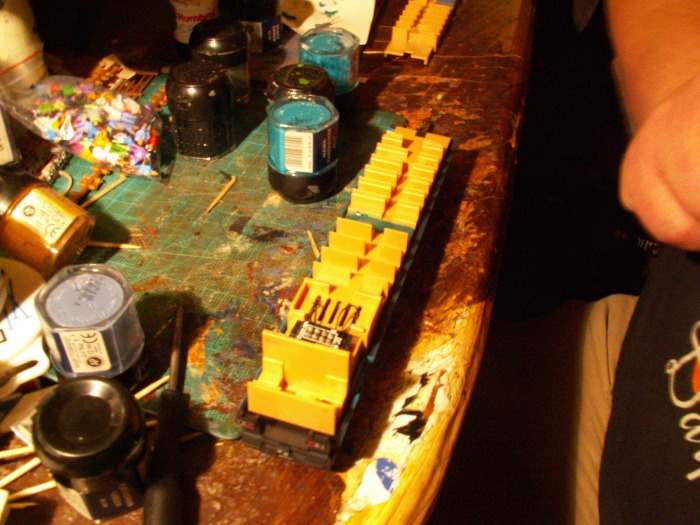
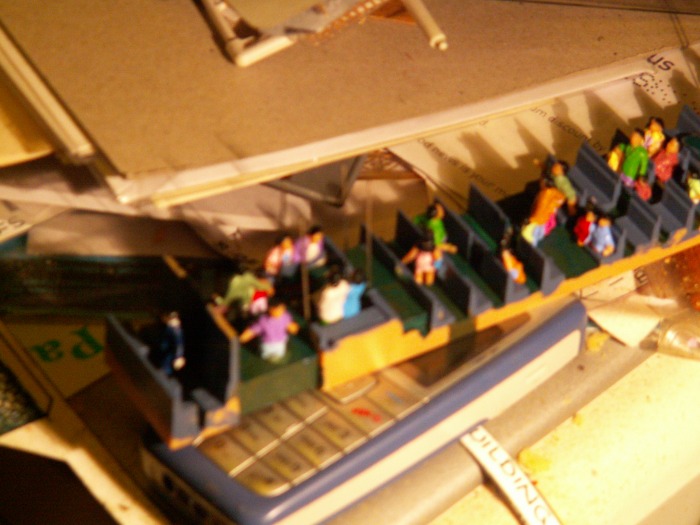
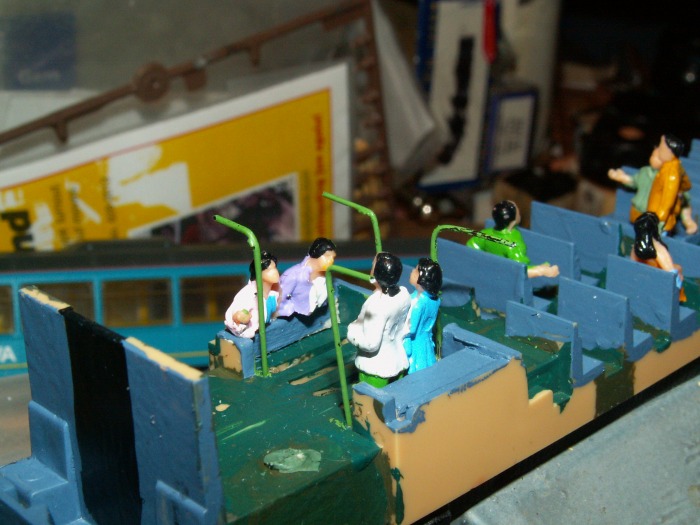
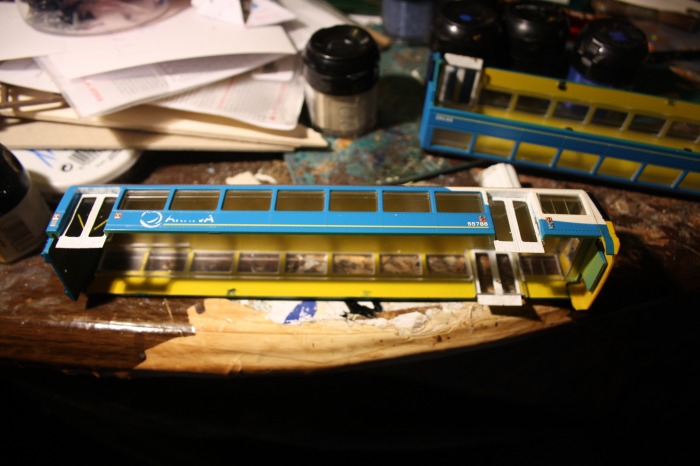
Once we got over the initial challenge of opening her up, which involved breaking some of the clips which for some reason were glued on, the work was relatively easy. We spend a few minutes deliberating which colour would best suit the interior and the seats and the hand rails. Painting was relatively easy, except for some places on the interior where the paint bounced off the plastic. Pete reckons this was due to some substance that Hornby will have used to remove the plastic from the moulding, so I would advise anyone who wants to do the same thing to wipe down the plastic with a bit of toilet paper or cloth or something first. We also discovered that the handrail on the front of the pacer was the wrong colour at it was too thick. However rather than go to the extend of cutting it off and putting a new one on, we painted it black like the real one, as Hornby had left it yellow. The bits down the sides of the windows were also masked off and painted black, as they were grey on the model again unlike the real thing. The inside handrails were made out of pins which were cut and bent into shape as required. A partition was also made inside for the toilet, and extra seats put in the other end of the unit where there weren't any. These were placed opposite the back door. Hornby have also made another mistake here by using the same gladd moulding and putting a frosted window in each of the units, when really only one should have it, and this is where the toilet goes.
Now for the doors
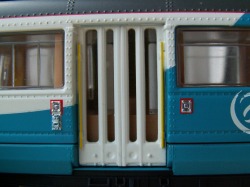
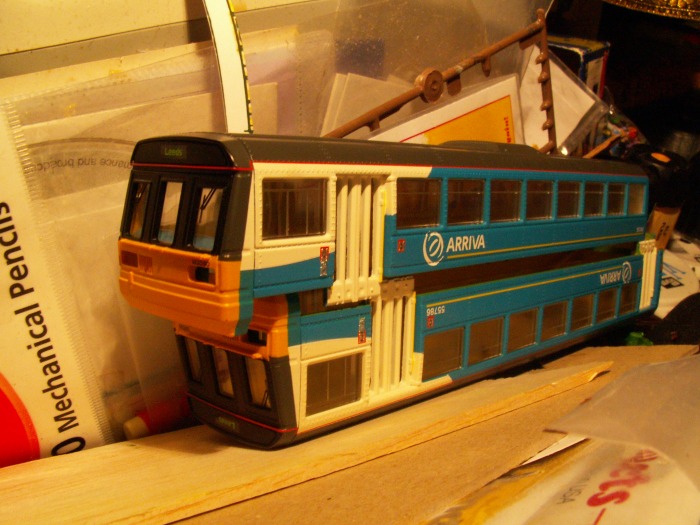
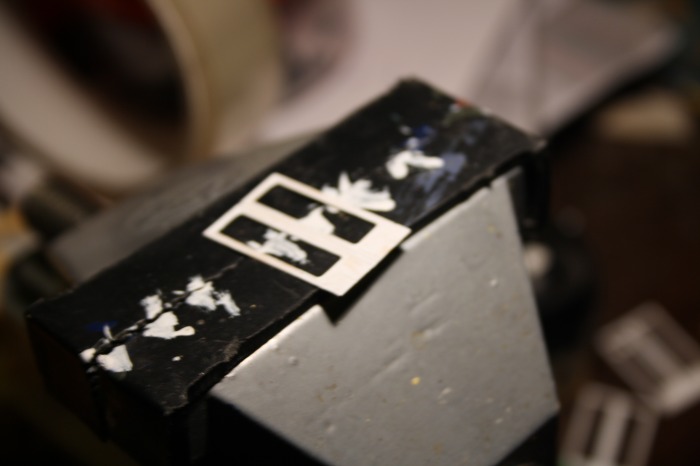
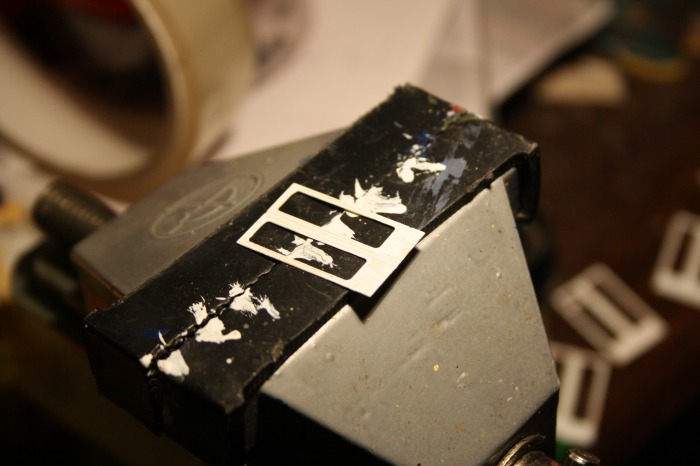
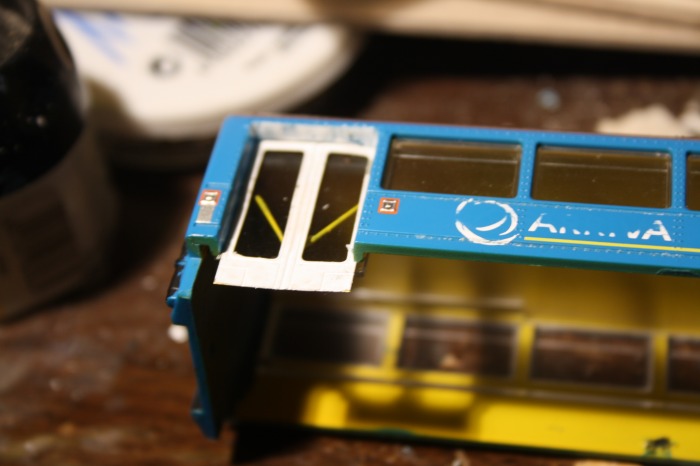
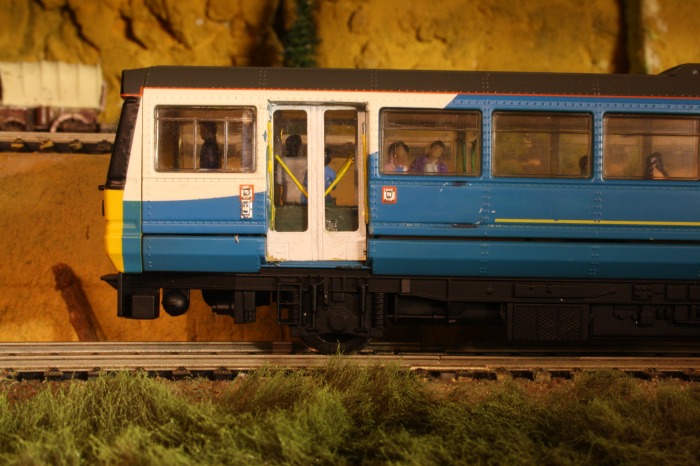
The first thing that I'm going to say is that the doors took a long time and a lot of patience. The Hurst Models instructions say that the doors are a 'snug fit' and they mean it. The picture on the left shows the old doors. First of all the windows need to be removed, which is a small miracle in itself as they are a ver tight fit and need to be taken out by carefully pulling the body apart. They are easy to break and I managed to break one drivers cab side windows off in the process, but they will glue back on easily. So, once the windows were out the very first thing that myself, Pete and Anth did was to begin the removing of the Arriva branding, using t-cut. Once this was done, Pete, using a razor saw, cut the middle out of the doors, then trimmed them back to the frames with a pen knife, so as not to damage the paintwork. I also had to score into the chassis were the doors were going to sit, as they are marginally too wide for the chassis and the frame, hence they now sit partially tucked behind the door frames. I suspect that this is because the Hornby model is wrong rather than the doors. I painted the doors using a War Hammer paint 'Skull White.'

Finishing it off
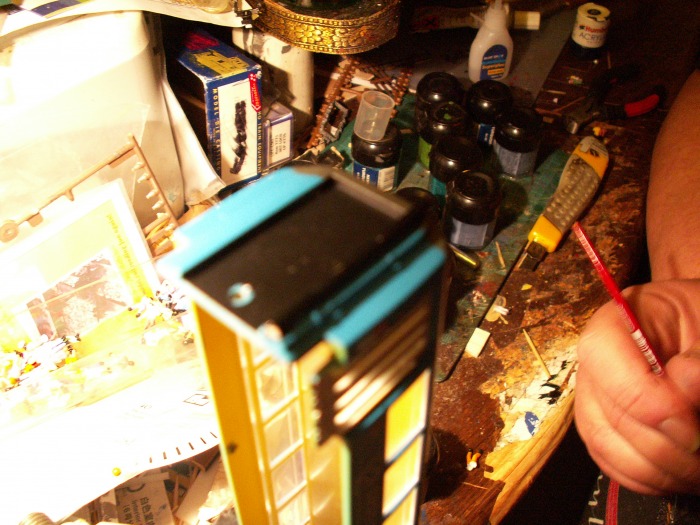
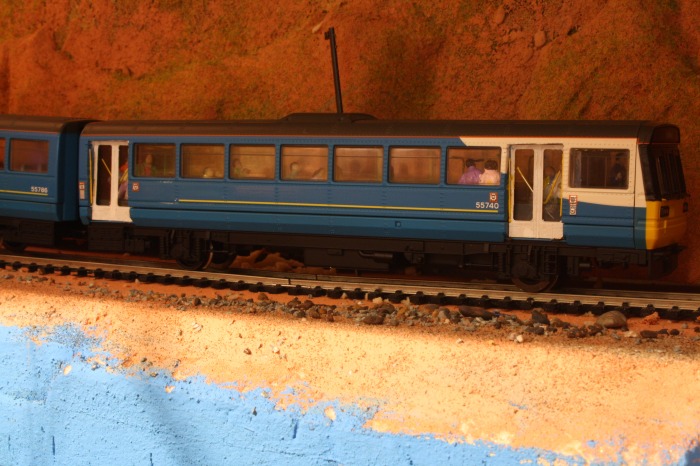
Once the doors were in place and the windows back in, we used Bostick glue to hold them in place, as superglue would make the windows frosted. A guitar E string, supplied by Phil Burbury. was painted yellow and used to make the handrails for inside the doors and down the sides as well. These were the final touches. Now all that remains to be done is to permenantly couple the units, as the current Hornby wiring likes to break very often. I hope you have enjoyed reading this, and if you would like any more hints or tips in doing this conversion, please do not hesitate to email me at: [email protected]
